
Crafting Calm: My Homemade Candle Ritual
Share
My Journey into Candle Making
Hi, I’m Clara—mom of two, weekend gardener, and a self-taught DIY candle maker. My love for crafting started years ago with a batch of homemade bath salts for a friend’s baby shower. I still remember the joy I felt seeing her reaction. That moment sparked something in me—a curiosity for handmade living that has turned into a beautiful, scented obsession.
Now, I’ve made everything from whipped body butters to beeswax wraps. But one of my favorite rituals is candle-making. There’s something magical about pouring melted wax into glass jars, blending in scents, and turning it into something that glows.
Why I Love Candle Making
I love the sense of calm and focus it brings. It’s the kind of project you can start and finish in under an hour, but it feels deeply grounding. And there's something undeniably cozy about filling your home with a handmade candle—especially when the scent reminds you of moments or people you love.
Candle Making Basics: How I Make My Own Jar Candles
Whether you’re new to DIY or you’ve dabbled in crafts, candle-making is a beginner-friendly project that feels like therapy in motion. Here’s how I do it:
You’ll Need:
-
4 cups soy wax flakes
-
2 cotton wicks (with metal bases)
-
2 8-oz glass jars (or 4 small ones)
-
1 wooden stir stick or chopstick
-
Essential oils (I love grapefruit + rosemary)
-
A pot for boiling water (double boiler style)
-
A wax melting pitcher or heat-safe bowl
Optional:
-
Dried herbs like lavender or calendula
-
Ribbon or tags for gifting
Step-by-Step: My Candle-Making Routine
Step 1: Melt the Wax
I fill a saucepan halfway with water and place my wax pitcher inside. On medium heat, I slowly melt 4 cups of soy wax. It usually takes 10–15 minutes.
Step 2: Prep the Jars
I place my candle jars on a cloth and dip the wick base in melted wax, then press it down to the center of the jar. A chopstick balances across the top to keep the wick straight.
Step 3: Pour and Scent
Once the wax is fully melted, I remove it from heat and add essential oils—usually about 60 drops for two candles. Stir gently, then pour into the jars.
Step 4: Let It Set
I let the candles cool completely—about 30 minutes. If I see any shrinkage or cracks, I top them off with leftover wax.
Step 5: Trim and Wrap
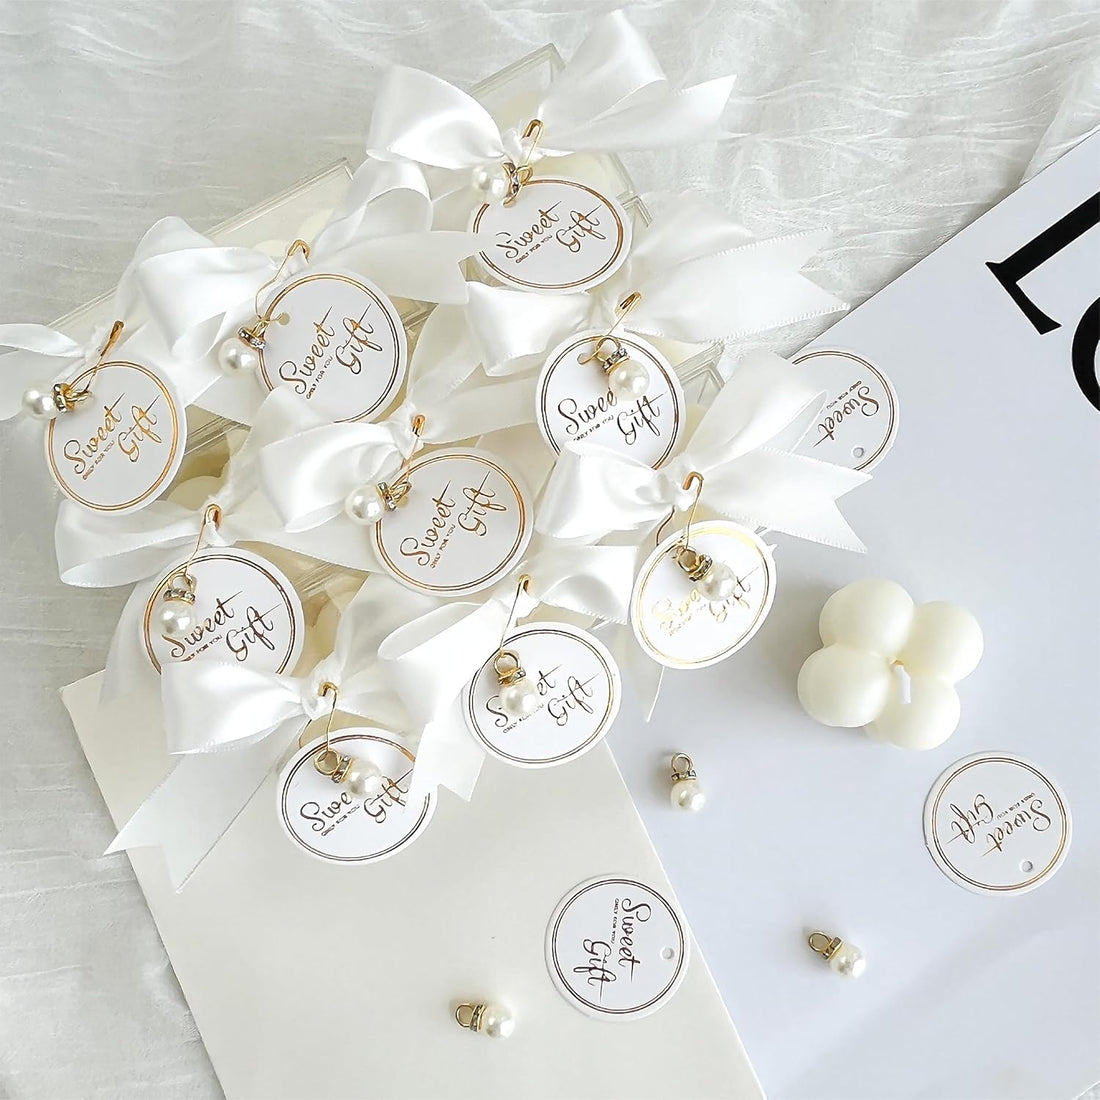
Once set, I trim the wick to about ¾ inch and wrap the jar with ribbon or a tag when gifting. That’s it!
Tips I’ve Learned Along the Way
-
Always let your candles cure for at least 24 hours before burning.
-
Use clothespins to keep your wick upright if you don’t have a wick holder.
-
If the wax tunnels, burn the candle longer on the first use to ensure even melting.
-
Reuse jars! I pop mine in the freezer, then scrape out the wax and reuse them for my next batch.
Why I Keep Coming Back to Candle Making
There’s a kind of quiet joy in this process. It’s slow, intentional, and gives me a chance to unplug. And whether I’m making them as gifts or adding a calming scent to my home, I always feel proud lighting something I made with my own hands.
If you’re thinking of starting your own DIY candle journey, I can’t recommend it enough. All you need is a few tools, a handful of ingredients, and a little time. You’ll be amazed at what you can create.
Happy crafting and happy burning!